Paper // Recommended Tools

There are lots of different types of papers out there to use when paper crafting.

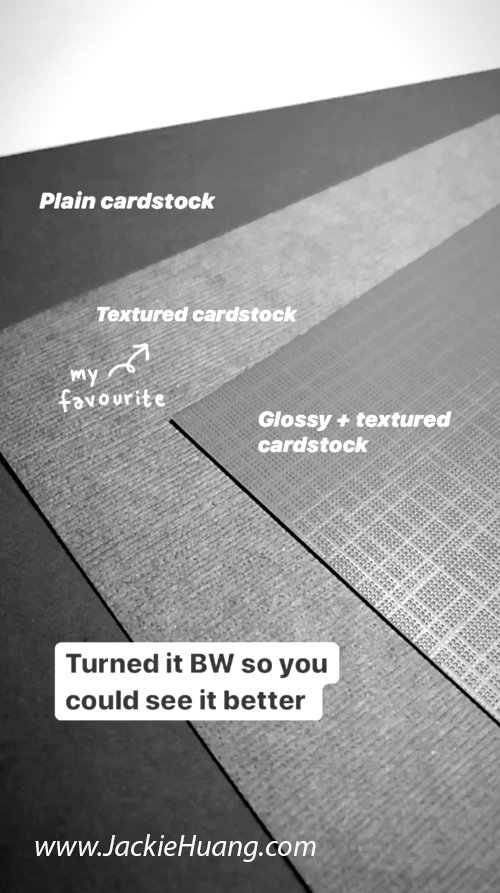
First, let’s talk about card stock vs computer paper. Computer paper is the stuff you find in copy machines or printers. Cardstock is what you’d find in a craft store’s scrapbooking aisle.

There are several ways to spot the difference:

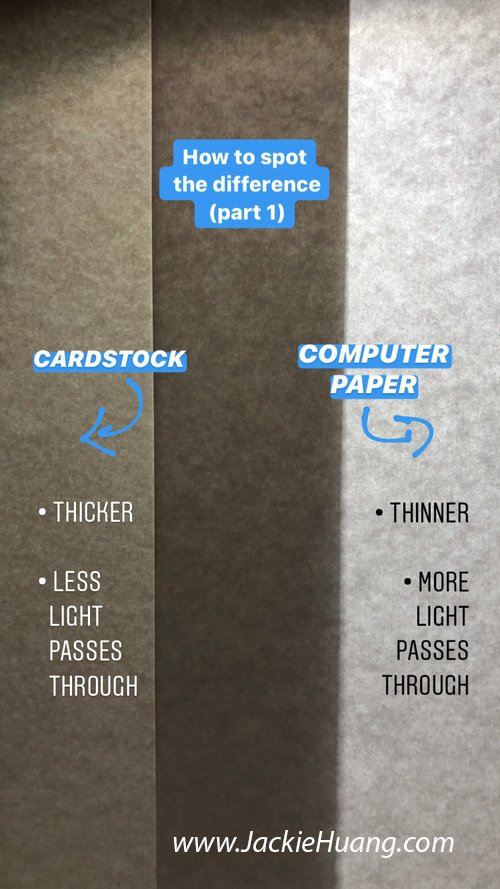
  1. Cardstock is thicker. If you hold it up to the light you it’s darker than computer paper because it lets less light pass through. (see image below)

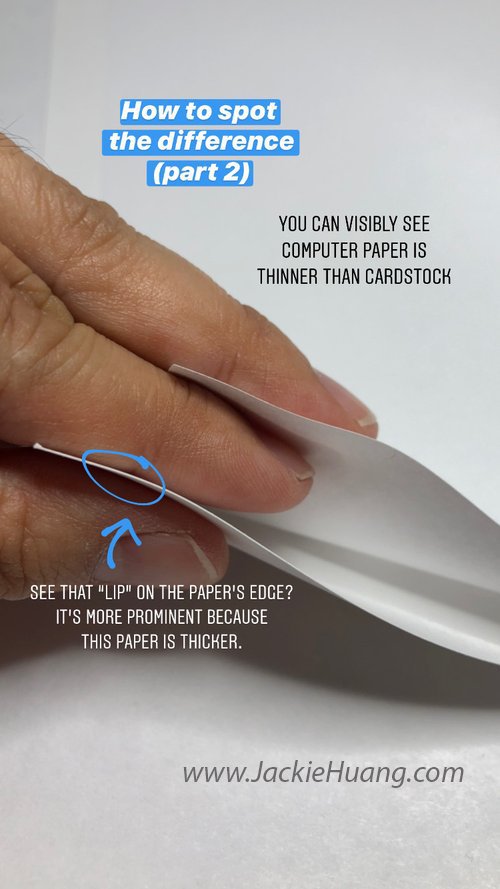
  2. Another way to tell is from it’s side. Computer paper is super thin vs. cardstock which you’d be able to see an edge (or “lip”) on.

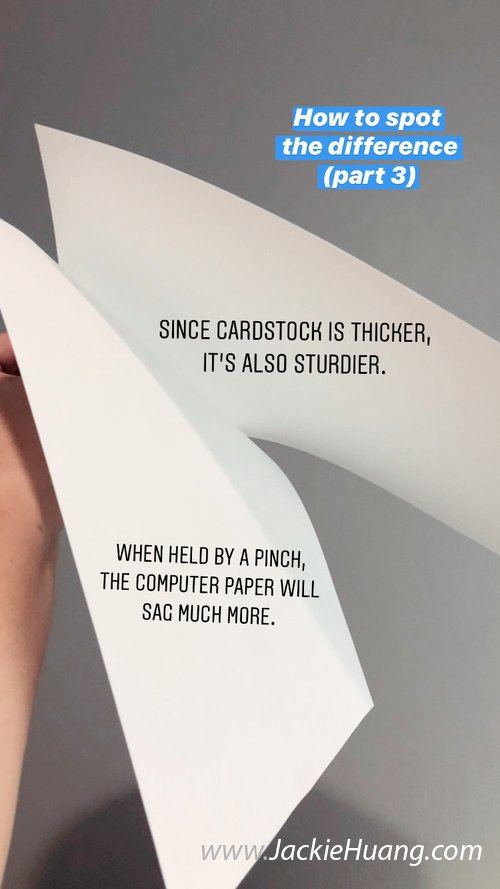
  3. You can also tell by holding them up from one side. Computer paper is so light it will starting sagging vs cardstock which will hold up a little better since it’s sturdier.

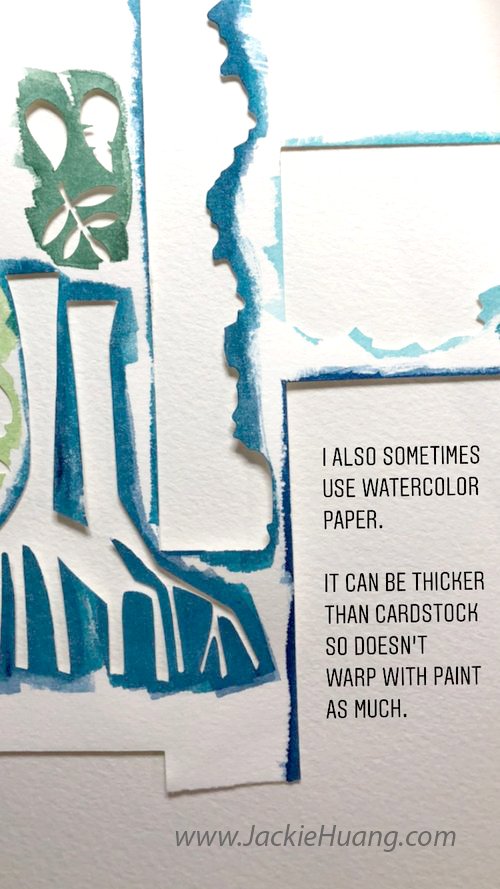
To be honest, I don’t use computer paper much in my paper illustrations, it’s almost always cardstock. I find computer paper (and thinner papers in general) are best used with quilling. (We’ll get into quilling in another post). So let’s move onto colored cardstock!

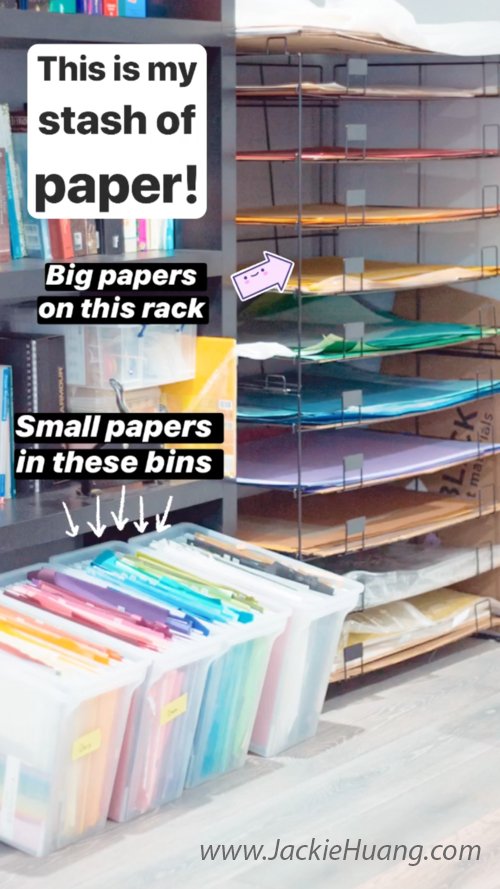
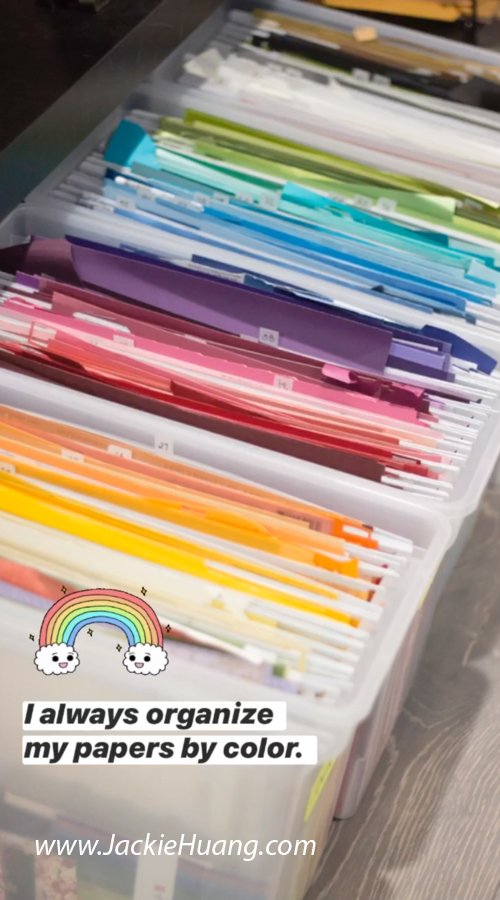
I hoard paper like there’s no tomorrow! You can find some great sales at Michaels or JoAnns and that’s when I stock up on paper.

I organize my papers by color in bins. I use these bins.

Here’s where I buy my papers:

  • Michaels (scrapbook aisle)

  • JoAnns (scrabook aisle)

  • Dick Blick (online)

Here’s a list of my favorite brands of paper:

Cutting Mats // Recommended Tools

If you get a cutting knife, you’ll also need a cutting mat to protect your table.

These are known as self healing mats - basically as you cut them, you don’t really destroy them. They just kind of ‘heal’ themselves. However, if you make lots of cuts on the same place then, of course, they’ll wear down faster.

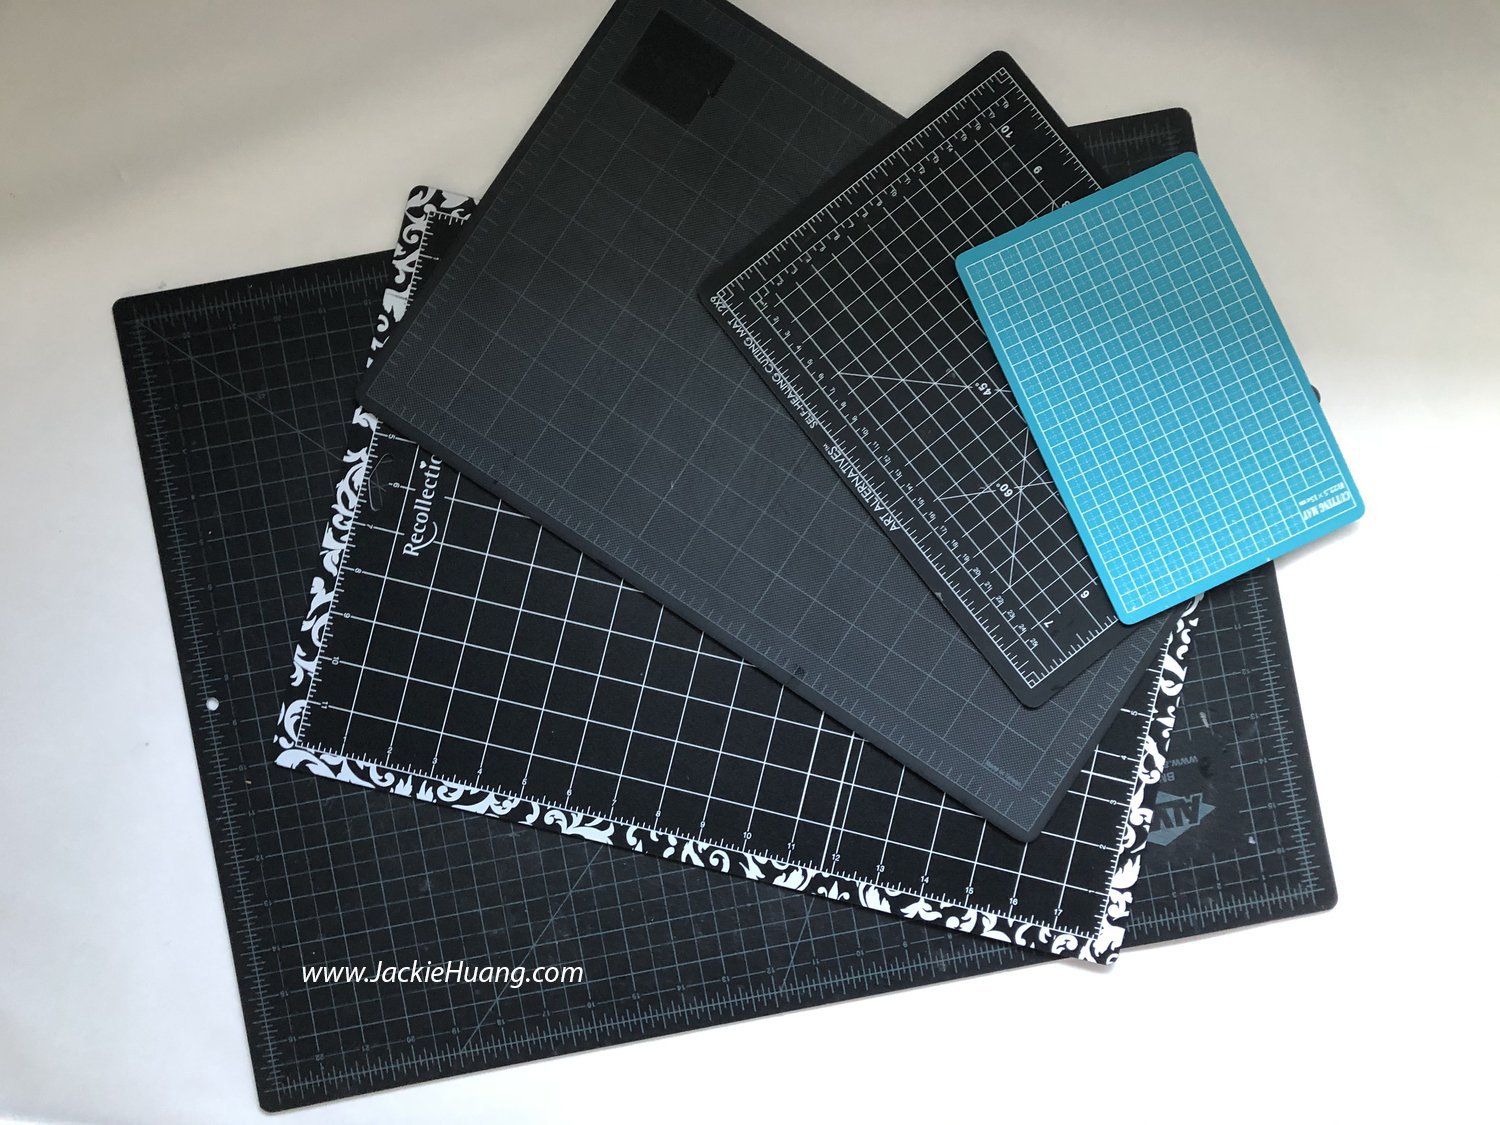
These mats come in a variety of sizes and brands. I probably own at least one of every brand out there. Alvin and Artools are some of my preferred brands.

I don’t recommend anything smaller than 12”x9” and personally prefer the 12” x 18” size for everyday projects.

One last tip, do not leave these in any place hot, like your car trunk. They will warp! If it does warp, you’ll need to place it back into a hot space and lay heavy books on top to flatten it back out.

different sized cutting matts

Cutting Knifes // Recommended Tools

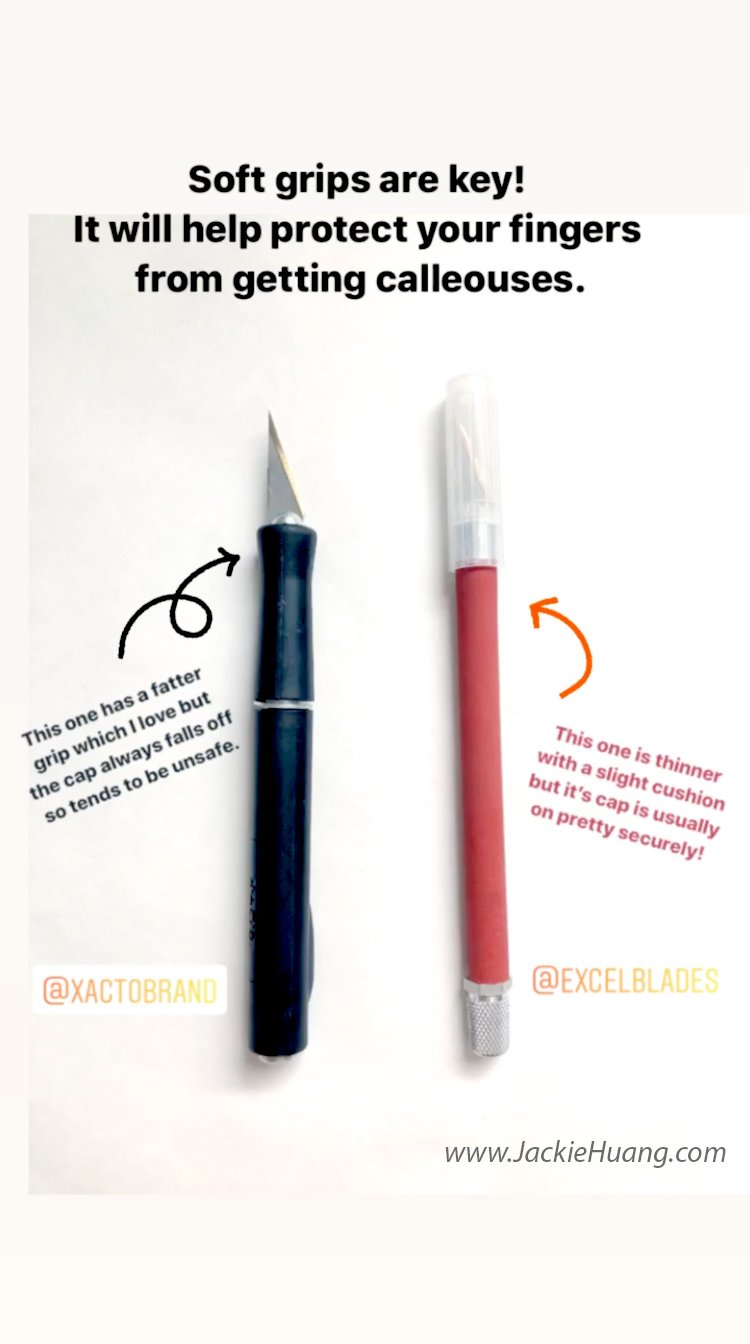
Aside from scissors, you may also want to invest in a cutting knife. There are two brands out there that I like - Xacto and Excel Blades. I highly recommend getting a cutting knife that has some kind of cushion or grip on it.

A super important aspect of the cutting knife is its cap! Excel Blades has a really great cap for their blades that doesn’t fall off. Sometimes the Xacto one will and it’s a bit dangerous.


Storage Tips

  • Always Keep your blade capped, even before you put it on the table. (I’ve seen mine roll off the table and almost stab me in the foot.)

  • I suggest storing the blade (capped) upside down in a cup or organizer. That way when you reach for it, the blade is always down. Same for anything else sharp.

  • If you loose your cap, always remove the blade before storing it. Or at least turn the blade and slot it in upside down into the handle (so the tip is inserted into the opening). Slightly more risky but better than an exposed knife.


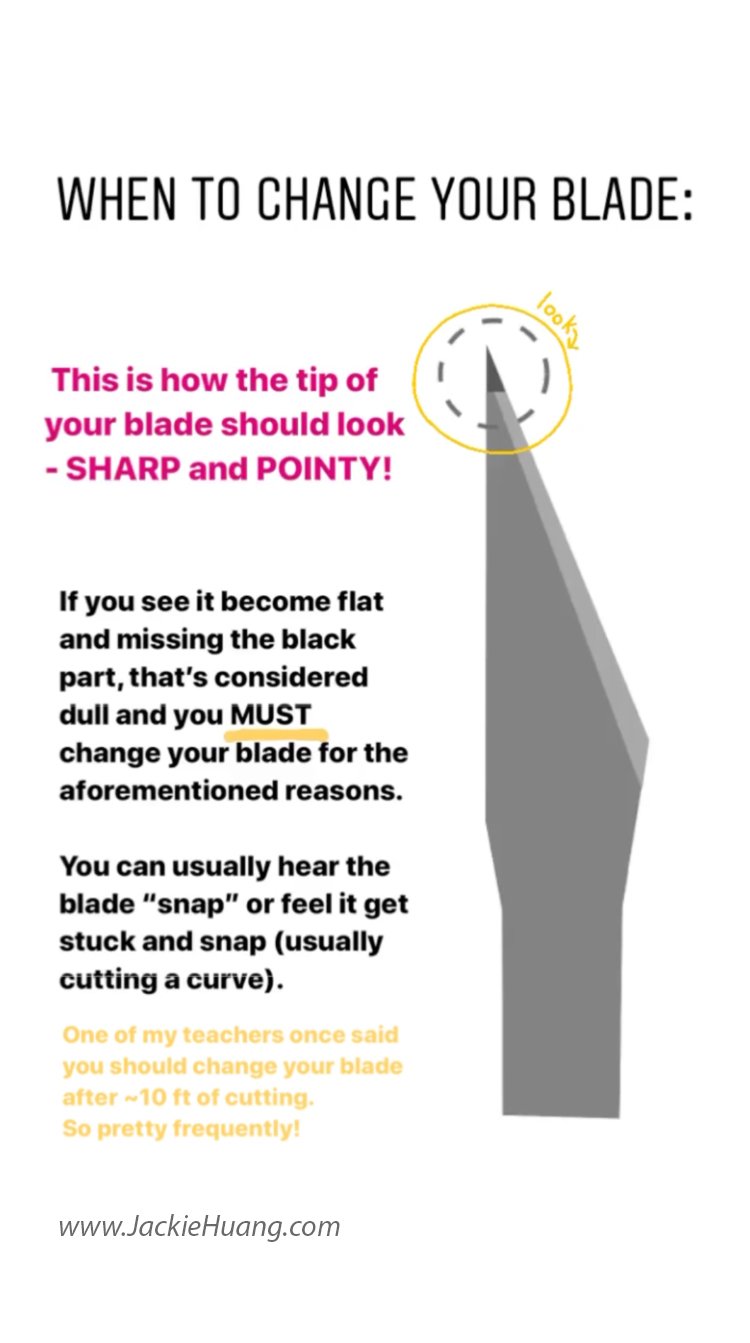
Changing your blade frequently is going to be a life saver! One of my teachers once said that you should be changing your blade out every 10 ft you cut. While I admittedly don’t change it that frequently, I do change it when the tip is dull. Sometimes this is more than 10 ft of cutting and sometimes it’s right after I change it and make a cut! If you insert the blade into a piece of paper or any surface, you might hear a snap sound. That means you’ve just broke your blade tip, so it needs to be changed again.

In the illustration above, I point out where the tip of the blade is and when it’s dull / flat, that’s what you need to change it out. It can get annoying to change out a blade frequently, but it will provide a much smoother cutting experience than waiting to do so.

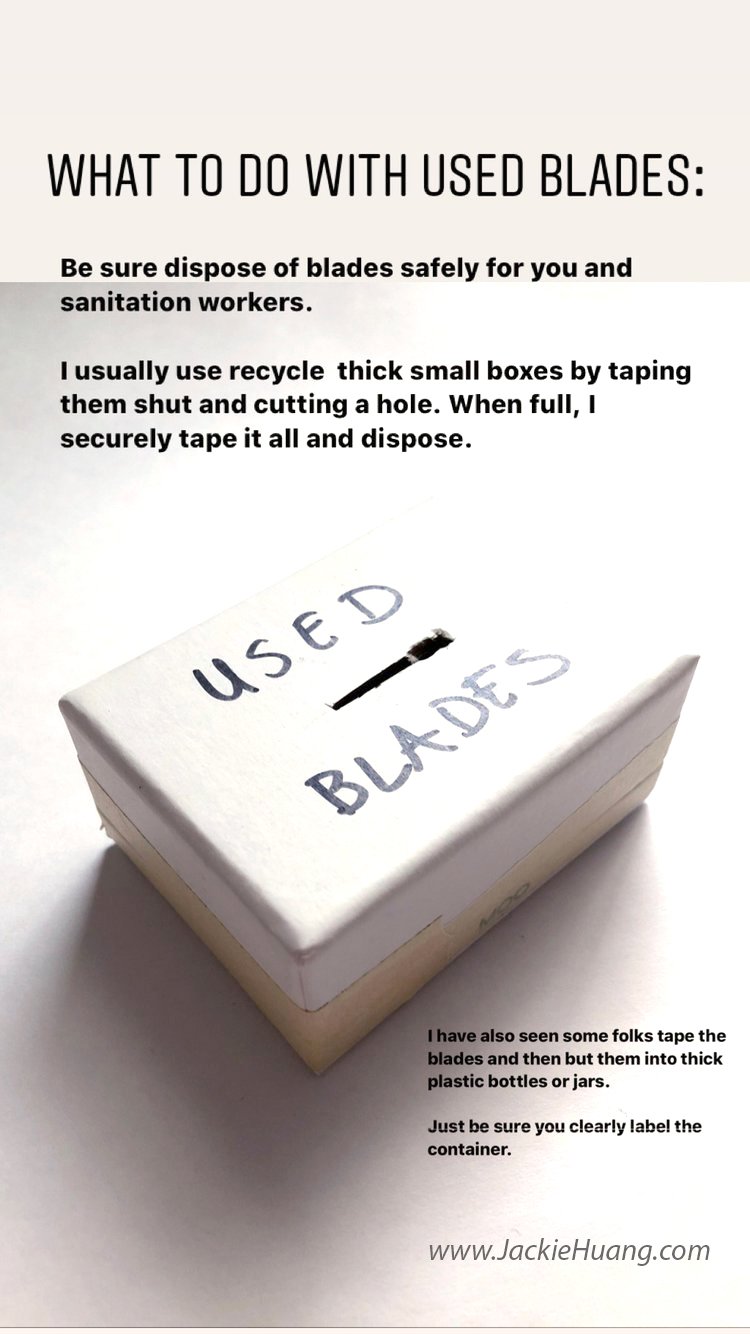
Once you finish removing the blade, please do not throw it directly into a trashcan. It’s still sharp and can cut a hole and possibly injure you or someone else dealing with the trash. I suggest you keep it in a thick plastic jar or thick cardboard box. Don’t use something thin like a milk gallon jug. The blades can still poke through.

Xacto has this really cool package that safely dispenses blades and has a place for used blades. The only drawback is that they come in small quantities.

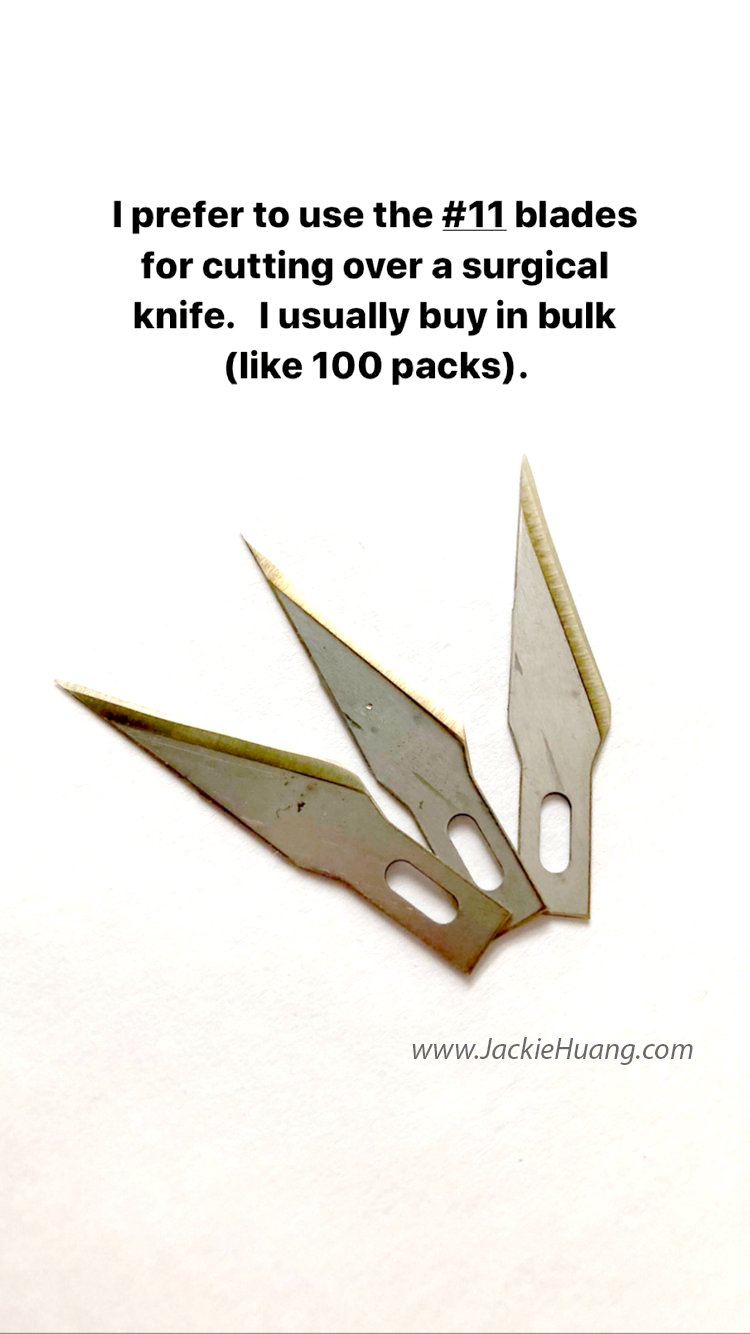
Some folks have asked about using a surgeon’s blade. I know some paper crafters use these but I’ve always felt like there was a bit of a learning curve and I never took to it. I find that the simpler the tool, the better.

Scissors // Recommended Tools

I wanted to start sharing some tips, tricks, and tools I use for my paper crafting in case anyone out there wants to learn how to do it too!

There are lots of fancy tools out there (and I have tried many of them), but you basically need 3 things: paper, scissors/cutting knife, and glue.

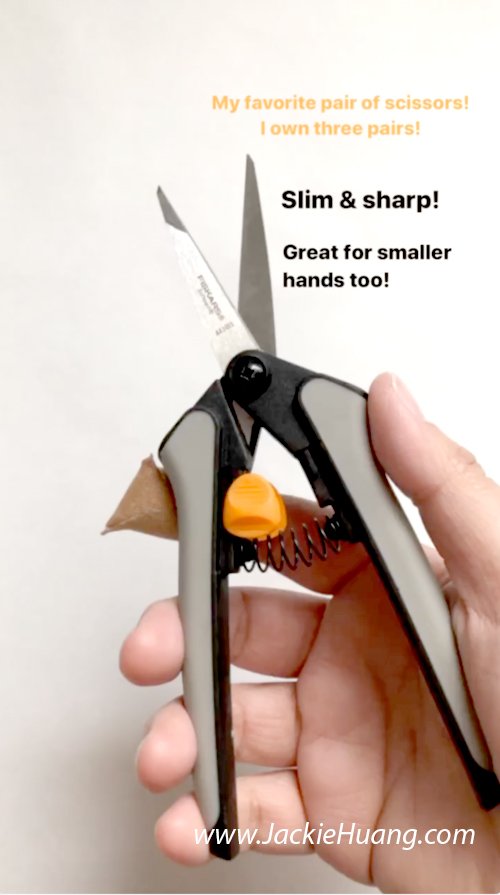
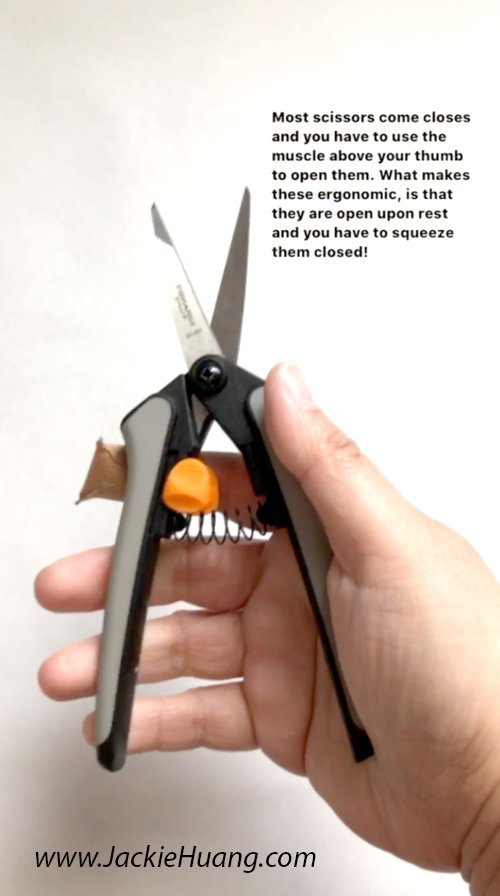
Today we’ll talk about scissors. I used to use traditional scissors but after a while, I found my hand cramping. For the longevity of my career, I needed to find better scissors. These Fiskars Micro-tip Easy Action ergonomic scissors are by far my favorite pair of scissors! I own 3 pairs of them.

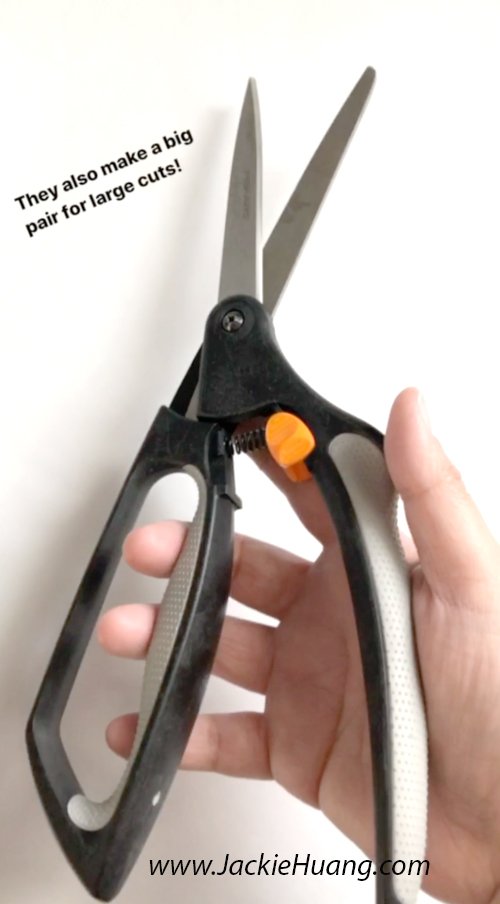
These scissors come in a small and large size. Both sizes come in handy a lot depending on the project.

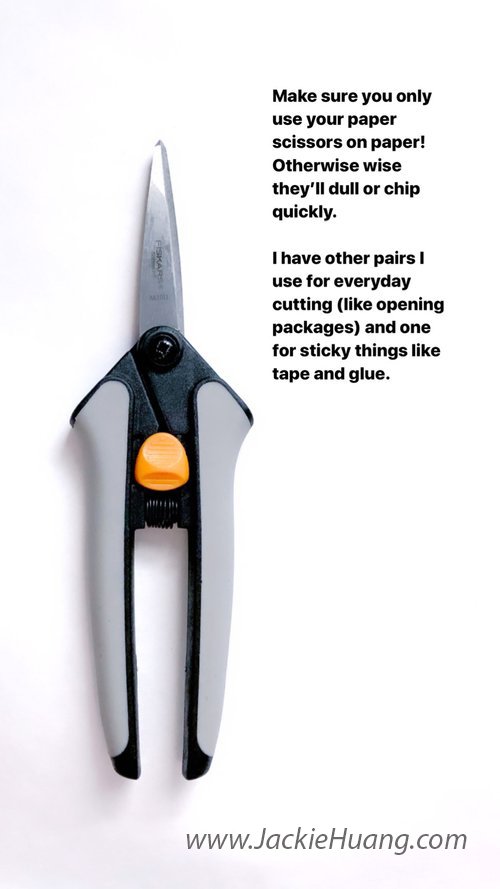
Just be sure to reserve the use of your paper crafting scissors for paper crafting. You’ll dull the blade if you use to cut hard objects, like wire or make them super sticky if you use it to cut things like tape. I have other pairs of traditional scissors around for everyday use like that.