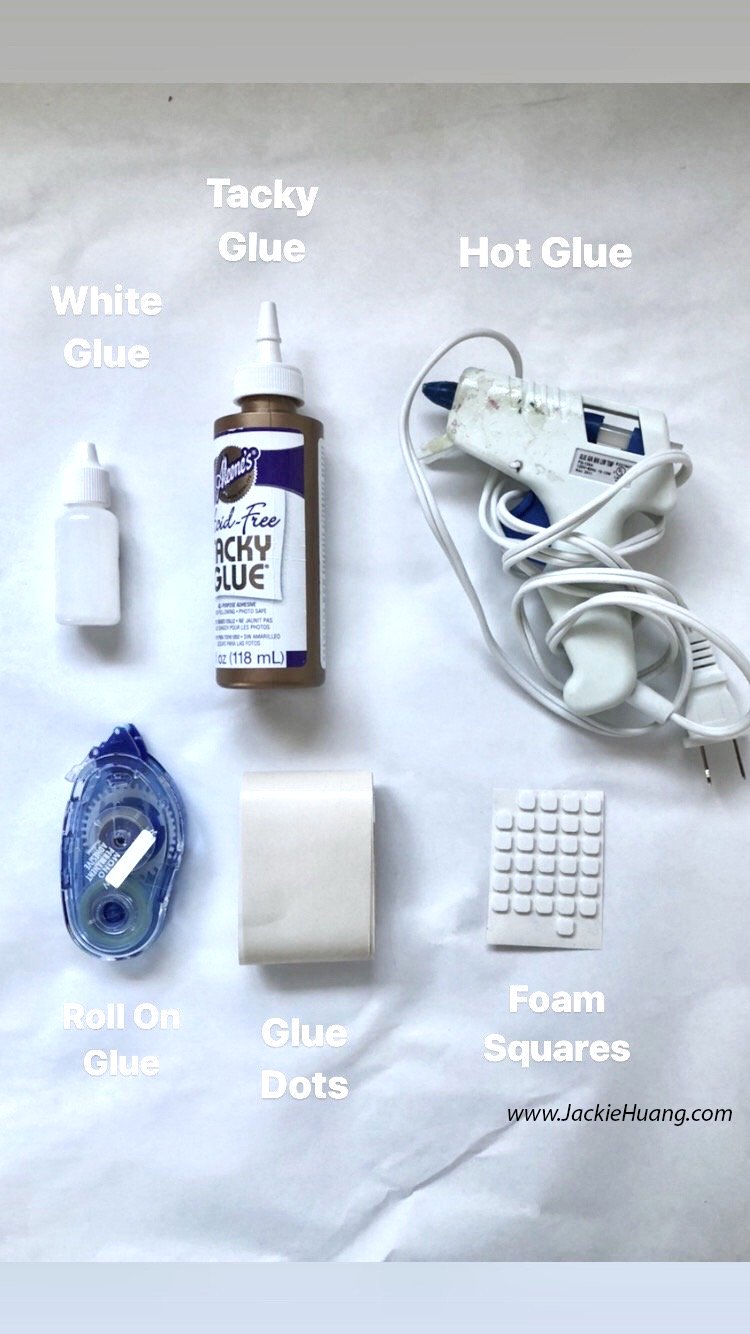
There are lots of different types of adhesives out there for paper crafting. Different types of adhesies have pros and cons. Each is unique so it’s more about using the right glue for the right project. Here’s an overview:
White Glue
Have you ever used Elmer’s white glue? This is the most common kind of glue people are familiar with and will work just fine for paper crafting. However, I always recommend using only acid free glue or pH Neutral glue. Lineco book binding glue is my go to.
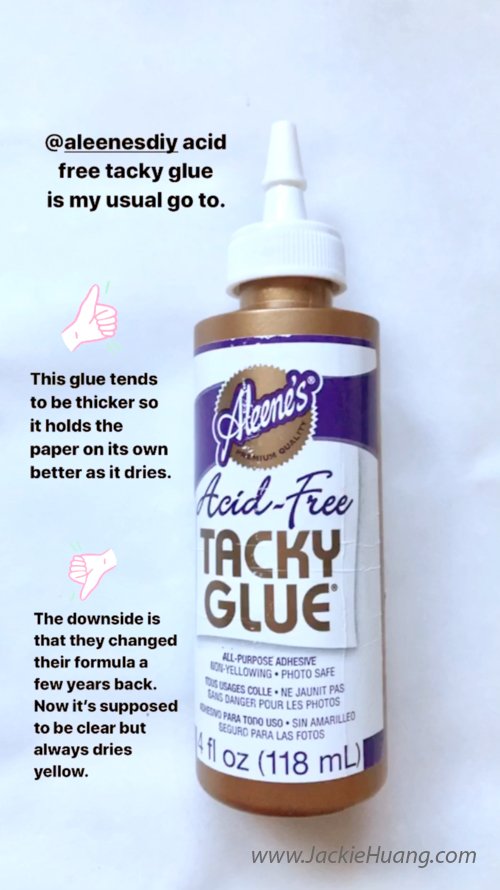
Tacky Glue
Aleene’s Acid Free Tacky Glue is used in most of my projects. Tacky glue is thicker than white glue so tends to hold better and dries a little faster. However, they changed their formula a few years ago so now it tends to dry yellow rather than clear. So you just need to be careful not to let the glue show.

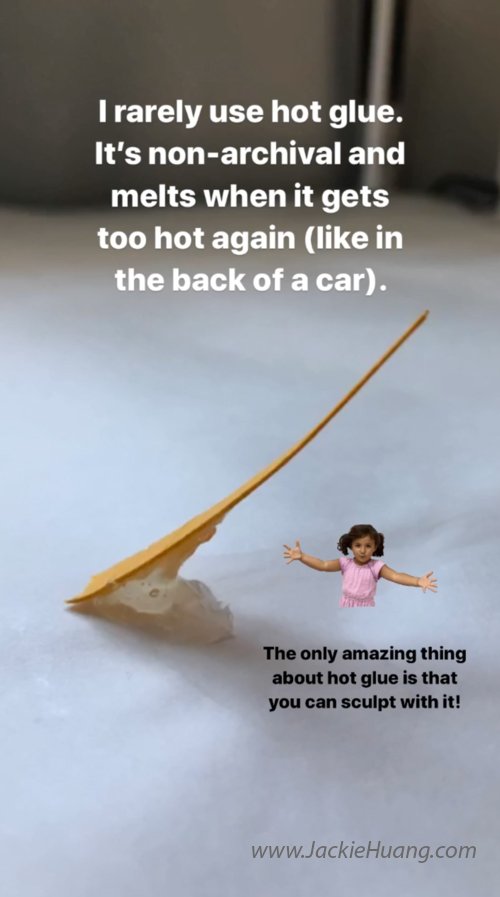
Hot Glue
Hot glue is another very common form of adhesive. It’s great for using on projects where you’re trying to get something non-porous (like plastic) to stick to something else. For paper crafting…it’s not so great. Because hot glue becomes active when heated, if you ship your artwork during the summer or even display it an area that gets hot, your hot glue can actually start melting again. So your work risks falling apart. However, hot glue has an amazing ability to be used like sculpture in your work. (see image below).
Roll-On Glue
Roll-On Glue seems to be a favorite product when I teach paper crafting classes. It functions like roll-on paper white out if you’ve ever used that. It’s easy to use and pretty clean. It’s super great to use with very thin materials like transparent papers/vellum. The down side is that it’s pretty expensive with the refill packs.
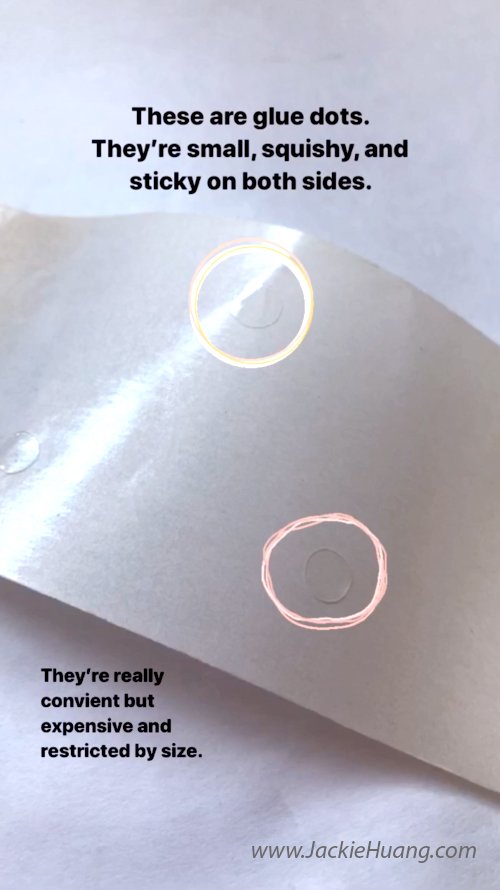
Glue Dots
Glue dots are another favorite product in my classes. They come in a box and are basically like stickers, except both sides are sticky! They tend to feel a bit gummy too. They can come thin or thick - like, raised. They’re very convenient to use, but again a bit expensive.
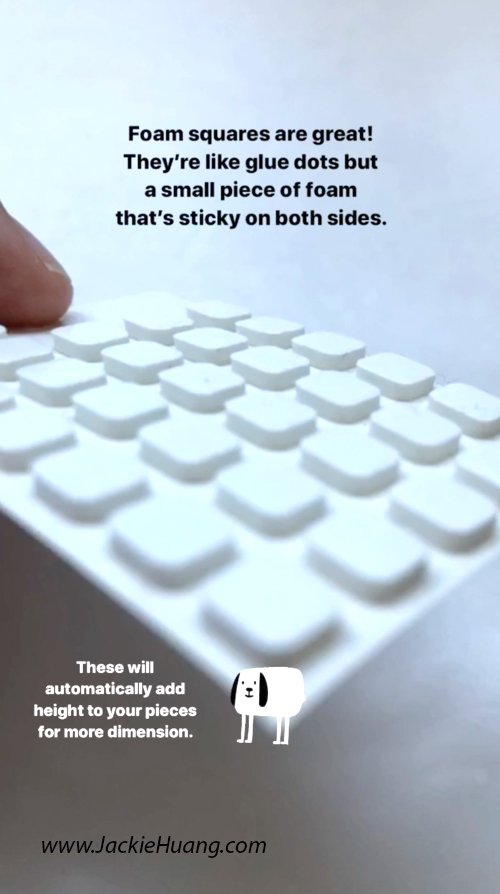
Foam Squares
I love foam squares! They are basically small pieces of foam that are sticky on both sides. It’s a quick way to add a little bit of depth into your paper pieces. And you can also stack them to get even more height. Again, it can get expensive if you use a lot.
Lastly here are some general tips for using glue:
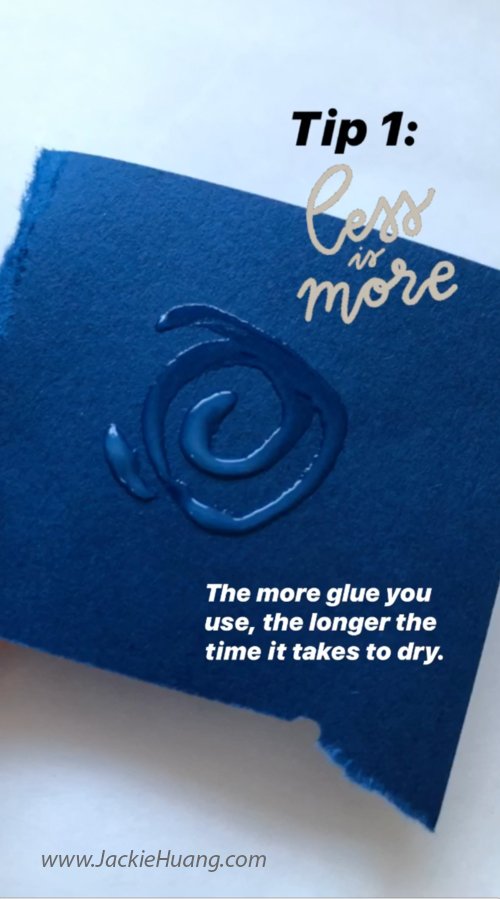
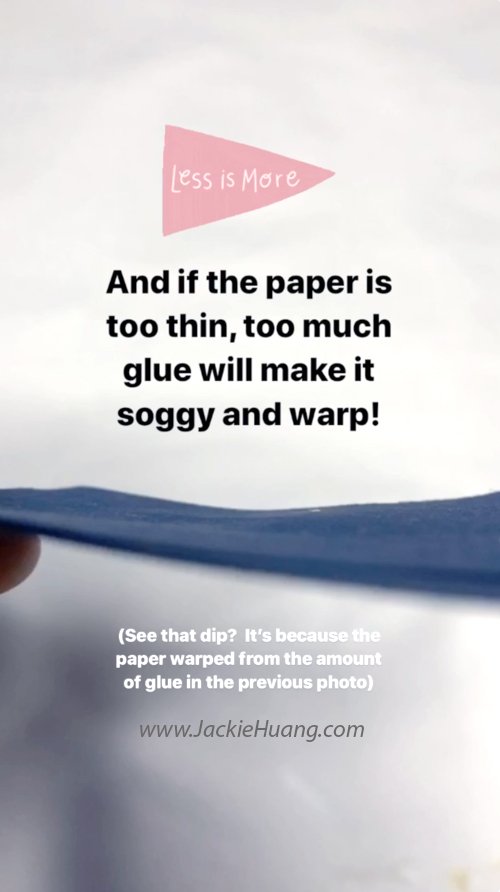
Less is more. The more glue you use, the longer it’ll take to dry. And, if you use too much, the wet glue will warp the paper!
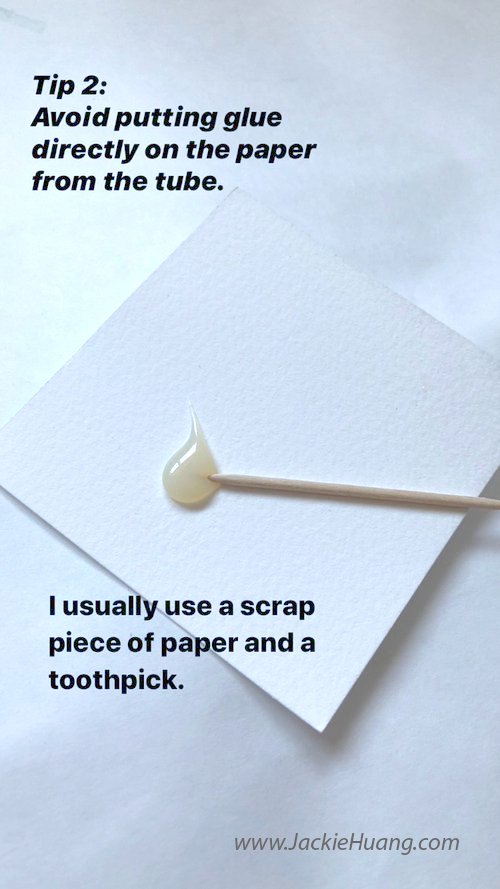
Avoid putting glue directly on the paper from the tube. I like to use a scrap piece of paper and a toothpick to apply. This will help you control the amount of glue you use cause - less is more!
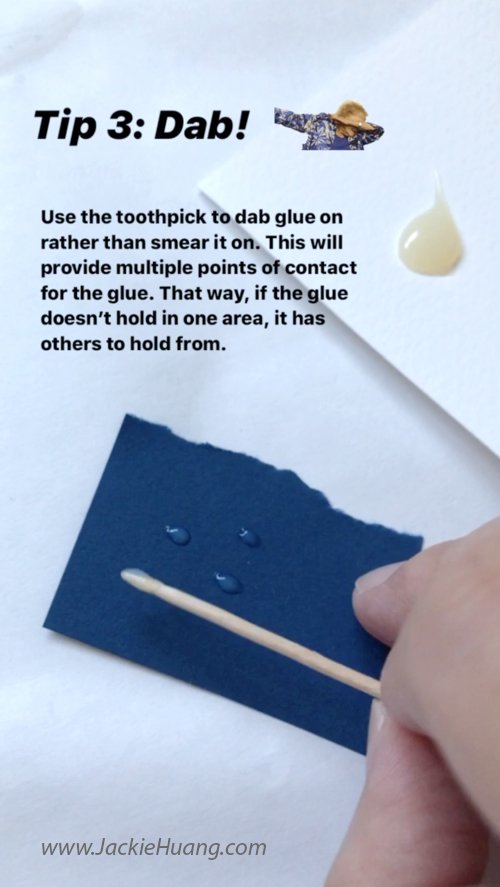
Dab the glue rather than smear it on. This will provide multiple points of contact for the pieces of paper to stick so if one area isn’t holding well, it has another spot to grab on to.