There are lots of different types of papers out there to use when paper crafting.
First, let’s talk about card stock vs computer paper. Computer paper is the stuff you find in copy machines or printers. Cardstock is what you’d find in a craft store’s scrapbooking aisle.
There are several ways to spot the difference:
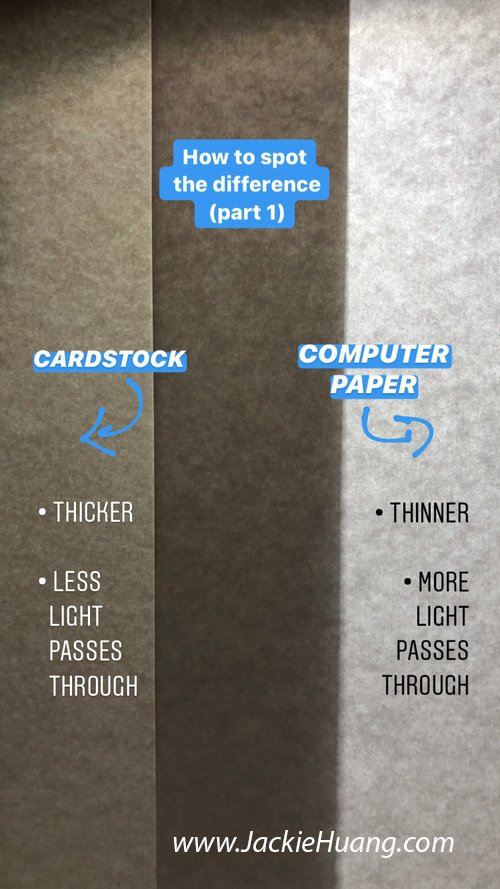
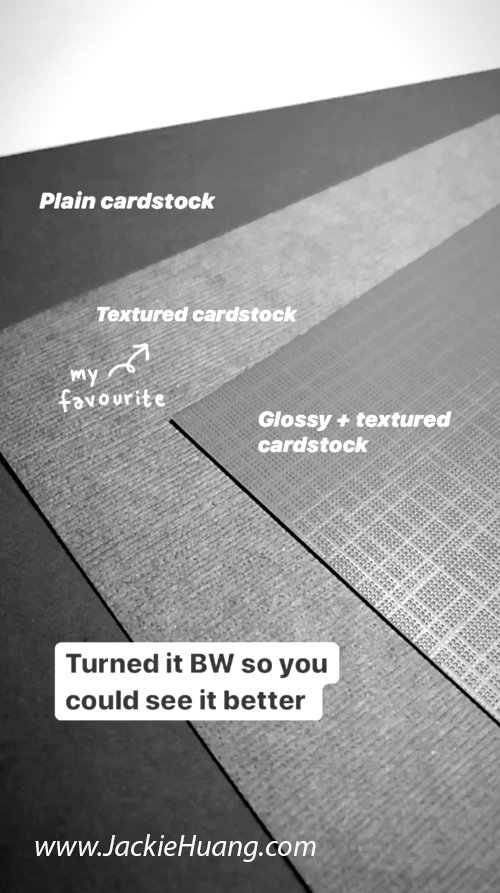
Cardstock is thicker. If you hold it up to the light you it’s darker than computer paper because it lets less light pass through. (see image below)
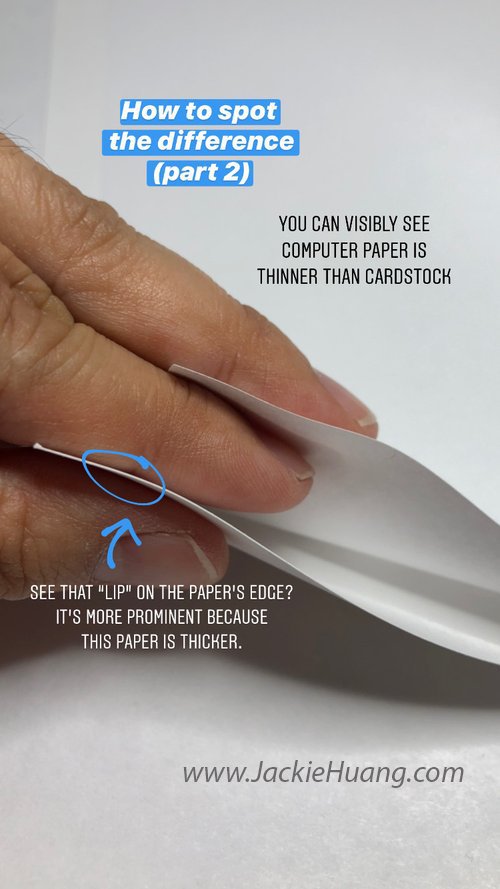
Another way to tell is from it’s side. Computer paper is super thin vs. cardstock which you’d be able to see an edge (or “lip”) on.
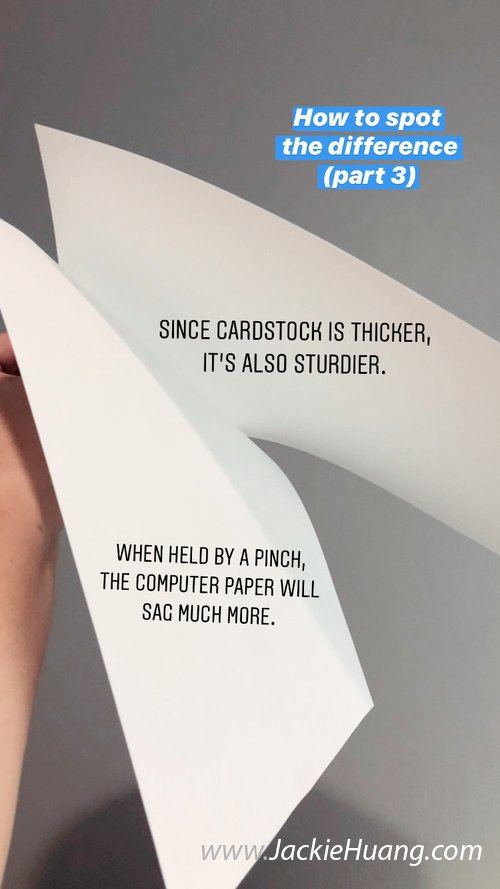
You can also tell by holding them up from one side. Computer paper is so light it will starting sagging vs cardstock which will hold up a little better since it’s sturdier.
To be honest, I don’t use computer paper much in my paper illustrations, it’s almost always cardstock. I find computer paper (and thinner papers in general) are best used with quilling. (We’ll get into quilling in another post). So let’s move onto colored cardstock!
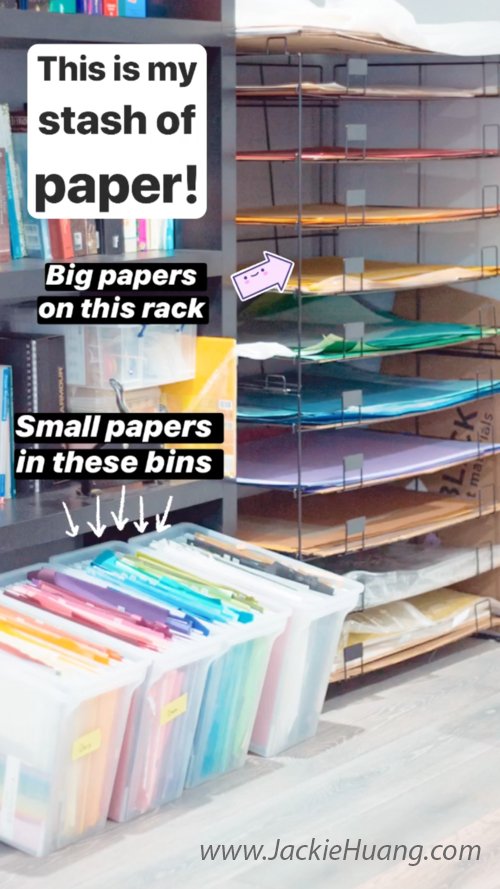
I hoard paper like there’s no tomorrow! You can find some great sales at Michaels or JoAnns and that’s when I stock up on paper.
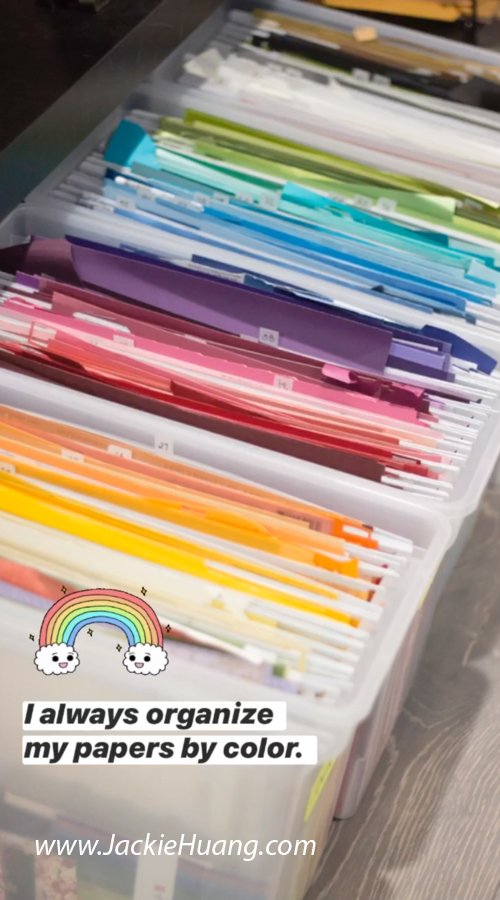
I organize my papers by color in bins. I use these bins.
Here’s where I buy my papers:
Michaels (scrapbook aisle)
JoAnns (scrabook aisle)
Dick Blick (online)
Here’s a list of my favorite brands of paper:
Mi-Tientes Paper by Canson
Bazzill Cardstock by Bazzill Basics
Canford Papers by Daler Rowney
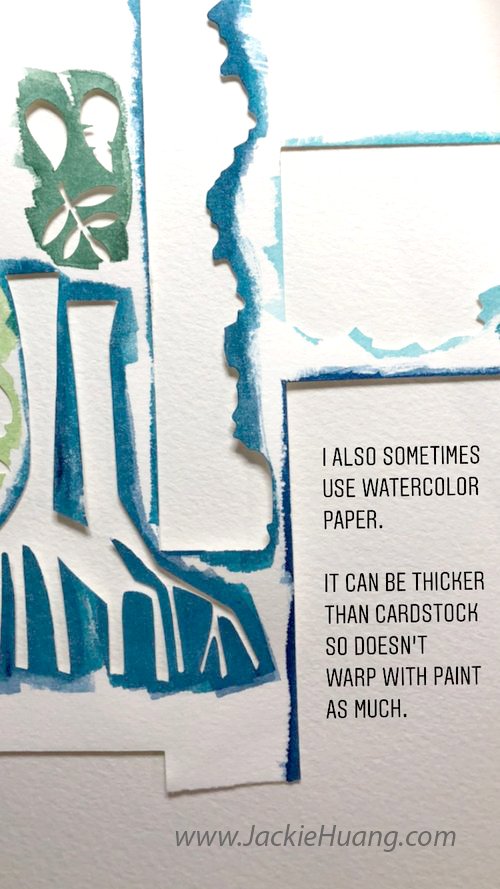
Coldpress 90lb & 140lb watercolor paper by Arches